Basic White Rice
After running this blog for a few years, I’ve finally come to the realization that I don’t have a basic white rice recipe on here. Honestly, and unfortunately, it’s my own assumption that led me to believe that most people who know how to cook or who at least visit food blogs, know how to make rice. And in my household, that includes pegao: the crunchy and toasty golden layer of rice that sticks to the bottom of the pot.
Learning how to make a good pegao takes a good bit of practice because you want to toast the get the rice crispy without burning it. And burnt rice is never good. I’ll share two random tips if you happen to burn your rice by accident, and no shame, because I have definitely done it over the years (especially if I’m cooking when I’m angry, don’t recommend doing this). If you happen to burn your rice by accident, you can either place a piece of plain sandwich bread right on top of the rice and cover with a lid and let it sit for 5-10 minutes. And then toss the bread. Another cool option? Cut a yellow onion in half and stick the entire thing right in there. Wait the 10 minutes and then toss it. I honestly don’t know why it works, but it does and it was something my mom taught me growing up.
I’ve gotten quite a few requests on how to make a pot of plain white rice, so here we are with a simple back-to-basics rundown. I learned how to make rice at a very young age and honestly, I rarely measure out my rice and use my finger to measure the water ratio (fellow rice loving squad, you know the vibes).
Note, that you can adjust the amounts accordingly, but since rice practically doubles in serving rice once cooked, starting small is the best way to go. I typically make 1.5 cups of dry rice to serve 4 in the house (allowing for leftovers and extra food for my roommate). We’re going to measure here for a small batch, so let’s get to it.
Basic White Rice
Cook time: 30 minutes
Serves: 4
1 cup white rice (see note)
2 cups water
2 tbsp canola oil or unsalted butter
Large pinch of kosher salt
1 large bay leaf
Note: different rice grains vary when it comes to the ratio of water you’re going to use. I typically go with a 2:1 ratio, with 2 cups of liquid per 1 cup of rice. I love using medium grain rice and I prefer Arroz Rico since it’s cultivated in Puerto Rico. And medium grain rice gets absolutely, perfectly crunchy on the bottom, resulting in pegao (which is what we often fight over at the dinner table). Medium grained rice looks a little more clumped together when cooked than a long grain (and especially parboiled) rice would, and that's okay, once it’s scooped out on a plate, you’ll see the difference. When it comes to longer grained rices, I like using jasmine rice. It makes the house smell amazing when cooked.
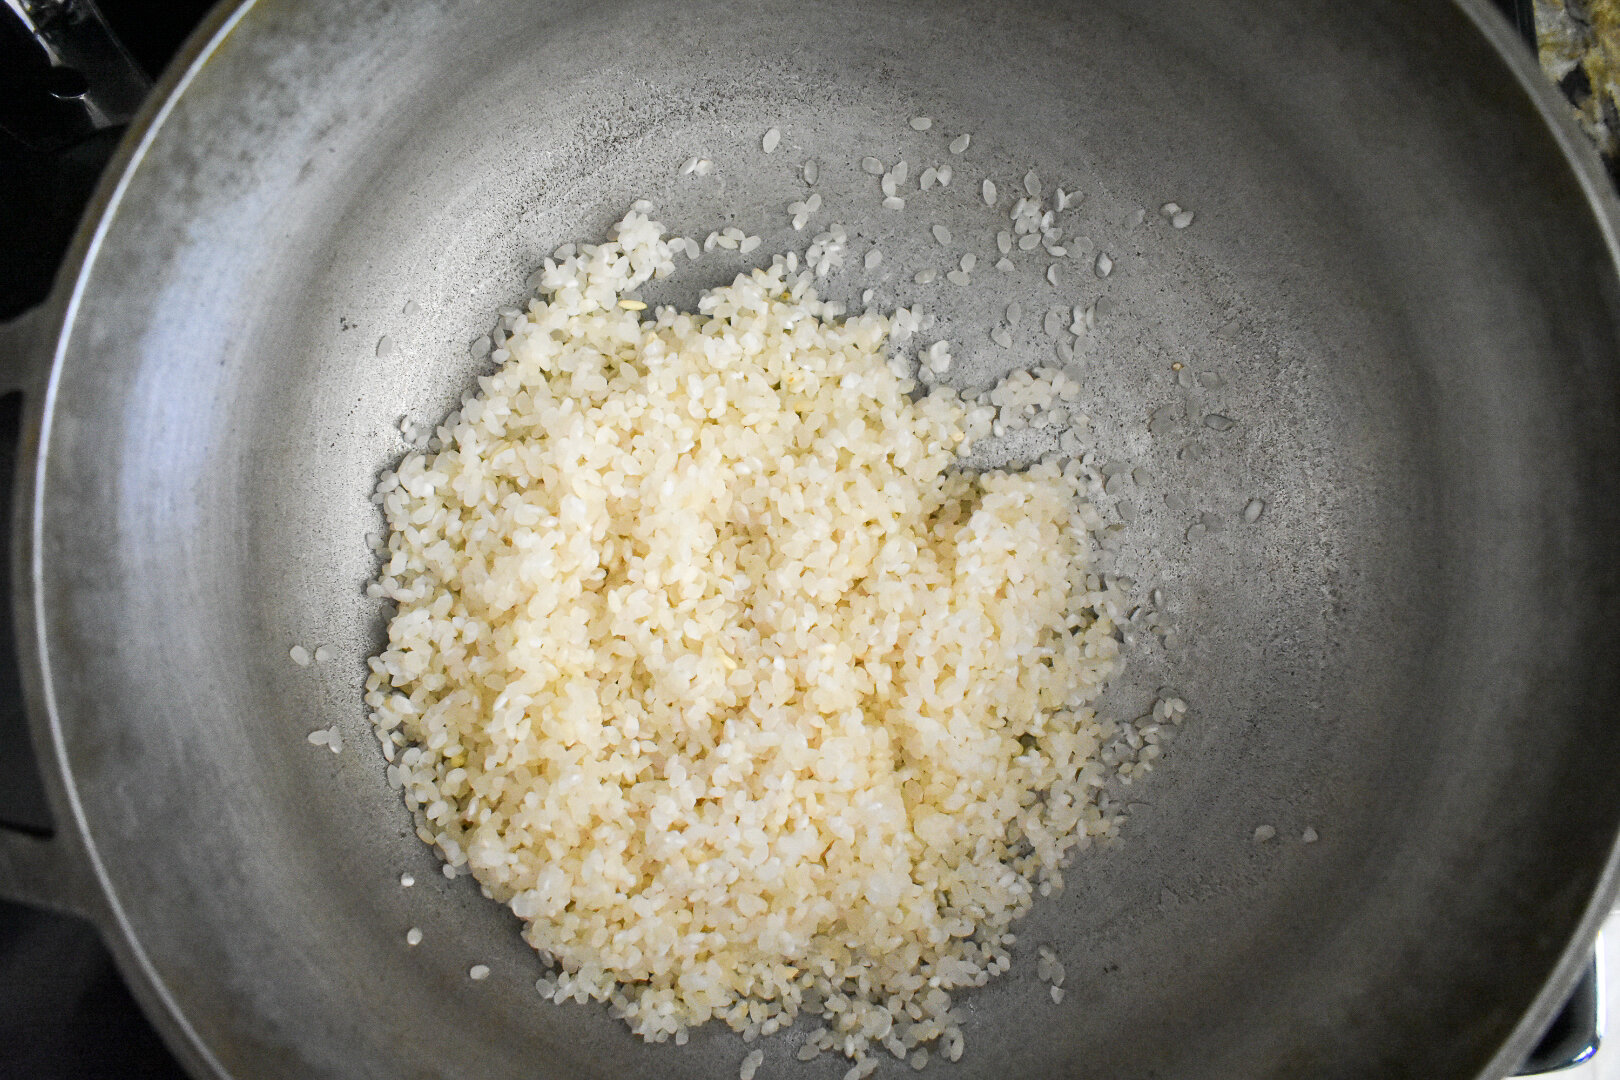
Place your rice in medium bowl and add enough water to cover. Using your hand, stir the rice around. Using a fine mesh colander or strainer, pour the rice into the strainer and drain the water. Rinse the rice again and repeat this step until the water runs clear (this usually takes me three goes).

Then, in a medium pot (I like using my metal caldero, which is literally perfect for rice and pegao), add the rinsed rice and the measured water. Add a turn of vegetable oil to the top, roughly a tablespoon and a half, a large pinch of kosher salt, and the bay leaf. Gently stir to dissolve the salt.

Next, turn the heat up to medium-high and boil the rice. Now, this is where you’re going to have to pay attention. As soon as your water starts to reduce and you can see the little pockets of bubbles in the rice (they’ll look like the holes in an old school whack-a-mole game), turn the heat all the way town to low, and stir the rice as little as possible, at the most two turns’ worth.


You don’t want to stir the rice too much because you’ll end up with a super mushy mess. And that’s no bueno. Then, using the spoon, create a little mountain towards the center of the pot, cover with a tight fitting lid and let the rice finish steaming for 22 minutes. Here is when you’ll set a timer and just walk away. Don’t open the lid, don’t stir the rice, don’t do anything to it.

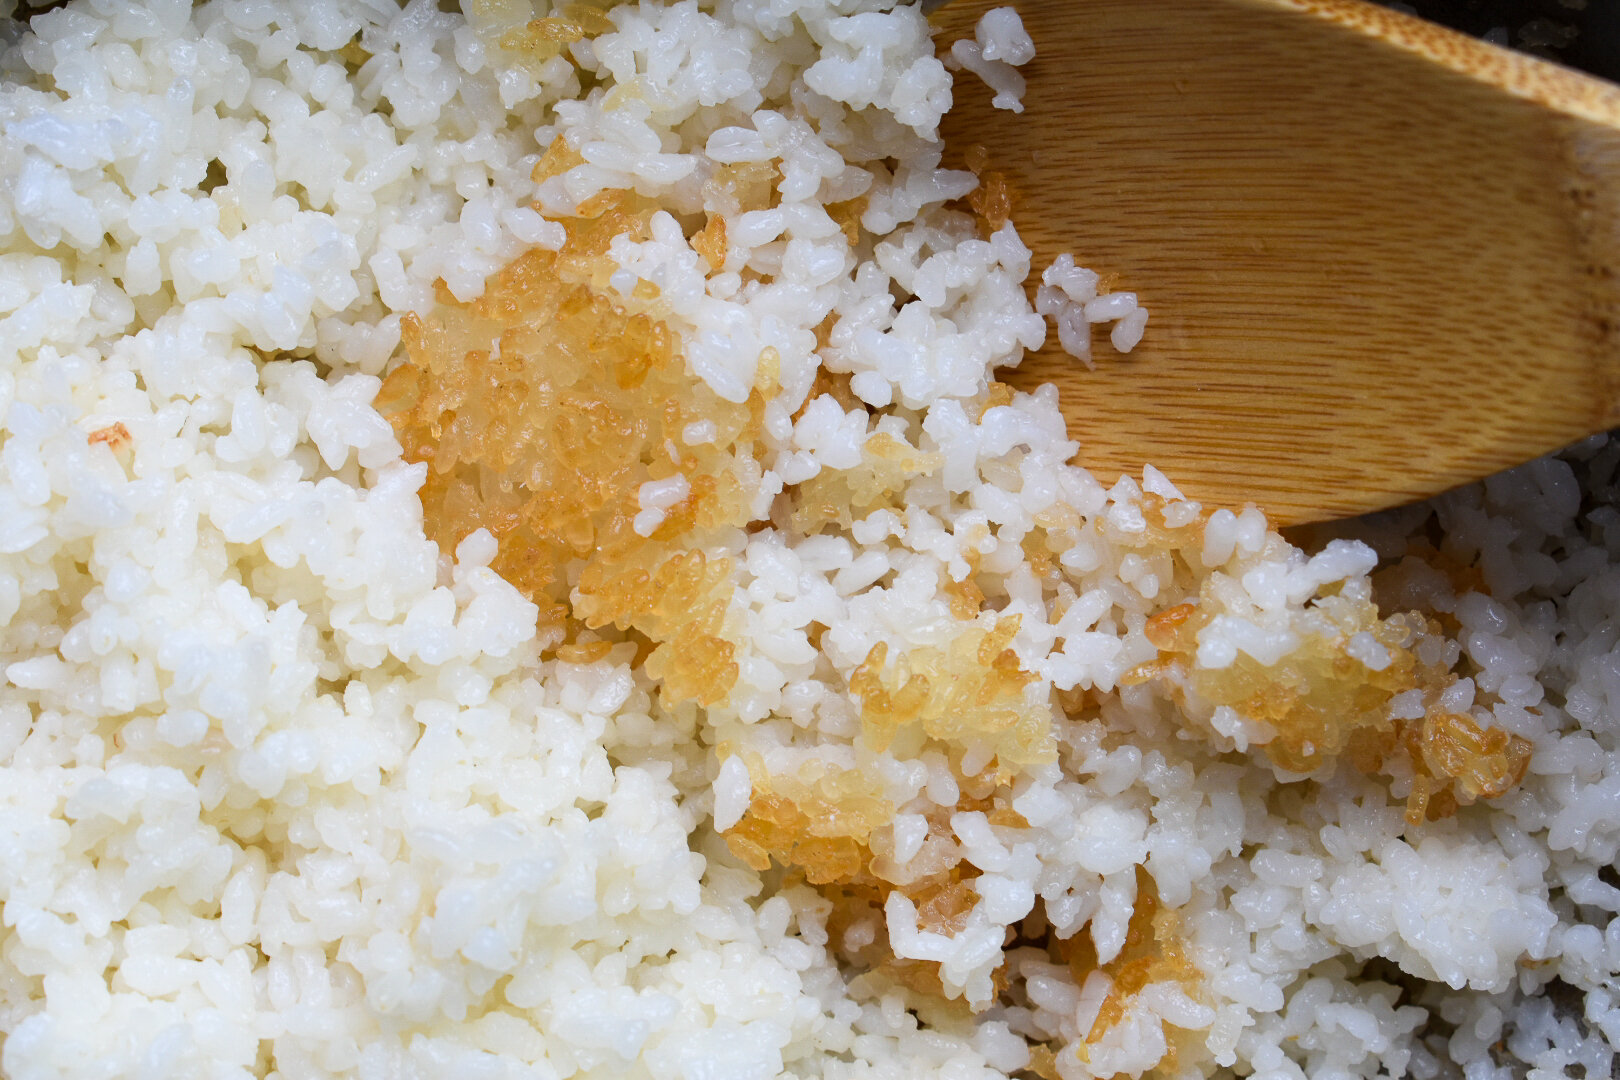
Once the 22 minutes has passed, open the lid, and using a fork, fluff the rice. If you want to try your hand at making some pegao, let the rice sit on low heat for another 10-15 minutes or so with the lid slightly cracked, and the rice will continue to cook and get crisp and stiff on the bottom (the oil we added to the pot at the beginning helps the rice get nice and toasty here).
I like using a wooden spoon to scrape up all of the golden, toasty rice at the bottom of the pot to set aside to snack on (we always serve it on a separate plate so everyone at the table can have some). It’s the best! Serve your basic white rice with stewed beans, picadillo (photographed below), gumbo, smothered turkey wings, or anything else your heart desires! It’s truly the most perfect blank canvas and vessel for all things good food.


¡Buen provecho!