
Things I've Learned
Hey, y’all. I’m going to use this post to share a few things that I’ve learned along the way in culinary school and working in professional kitchens. Not necessarily recipes, but just good tips, tricks, and kitchen hacks to help you along the way on your cooking journey. I plan on updating this as I see fit, so you’ll always have a place to visit for more pointers! It’s a bit of a read, but honestly, if you’re here to learn more, it’s worth the time to research and absorb as much knowledge as you can! Let’s get going.
Work Smarter, Not Harder: Be Efficient
Mise en place. I cannot stress this enough. Mise en place translates to “everything in its place” and it was drilled into my head by my chefs in every single class I had. In our introductory classes, we couldn’t start cooking before we had our mise done and chef came by to check that we were ready to go. This means: every single vegetable that you have to chop? Have it done. Spices? Measured. Broths and stocks? Set aside and portioned. Ever see cooking shows and the cook has every single thing they need in little bowls, which means they can actually cook their meal stress-free and efficiently? Mise en place.


Chefs, by nature, are very type-A. We like order. We like precision. We like organization. Every item has a place and home and if it doesn't? It’s getting tossed! The end. I live by this rule in my kitchen and it’s honestly helped improve my well-being in other parts of my home; allowing me to minimize my belongings and find overall happiness in living simple and smart.
Think like factory line and be efficient. And for goodness’ sake, work clean! My biggest pet peeve on the planet is cooking with someone who is messy and leaves the kitchen looking like a hurricane ran through it before dinner is even done. Use a large bowl for garbage and keep it by your cutting board. Use it for all of your scraps and bits that you won’t be using when prepping out your recipe. That way, you take ONE trip to the trash can, rather than 20.
For example, we’ll use carrots: you have to peel, cut, and then dice five of them for a recipe. Start by peeling all of the carrots first, then cutting the ends off of them. Place the peels and ends in the garbage bowl; this will give you space on the cutting board. Then proceed to break the carrots down as needed. Place your usable product in a bowl and set it by the stove for cooking. Rinse and repeat.
When you work clean, there’s less of a mess to clean up when you’re finished with your meal. All that’s left is what you ate off of and what your food was cooked in; I love cleaning as I go because I hate doing dishes after I’ve stuffed my face with a delicious dinner.
Knife Work
Use a damp paper towel or kitchen towel to place underneath your cutting board to avoid it slipping. This keeps you safe and sturdy while cutting up your food.
Sharpen your knives. Dull knives are more dangerous than sharp ones; you have to use more pressure to cut items, which can be a huge hazard. A lot of kitchen stores like Williams-Sonoma offer knife sharpening for a low cost. Or you can get yourself a solid knife sharpener and do it yourself with the help of a few YouTube tutorials; I have an electric knife sharpener and a whetstone for home use.
First rule of using a knife: FINGERS IN! Curling your fingers in avoids dangerous accidents when working. I can’t stress this enough. And practice makes perfect guys, that’s all I can really say about knife work. I’ve gotten good at it because I work on it every single day. And I can always get better! Practice your knife cuts with carrots or potatoes; they’re inexpensive and freeze well if you don’t want to throw them away. Here’s a good resource to check out!
Storage & Food Safety
Use reusable deli containers with matching lids. I don’t use Tupperware anymore because of this. The crazy cabinets full of mismatched containers that hit you like an avalanche when you open the door? NO MORE. You can get deli containers in quart, pint, and half pint sizes and they’re absolutely amazing for storing cold food, frozen items, and dry goods. They’re flexible, you can see what’s inside of them, they stack easily, and and if you get the same brand, all of the lids are interchangeable. For larger storage items, I always go for cambros. And they’re perfect for a sous vide bath.
FIFO. First in, first out. Rotate items in your pantry and fridge with this method. Anything new with a longer shelf life, goes to the back, forcing you to use the first-in item first. Makes sense? This helps eliminate food waste by using what’s going to go bad first. Plus, it helps you keep track of what you already have on hand.
Speaking of containers and labels: blue painter’s tape and a set of sharpie markers will be you best friends. Label and date everything. It honestly takes a second to do before putting things in the fridge or freezer and it makes for easy locating, storing, and rotating food items. That way, all you have to do is open the fridge door, peek in, and know what you have of hand rather than digging through your freezer to find something you might have made two months ago.
Food safety 101 can be found here: https://www.foodsafety.gov. This includes proper food handling techniques, safe internal food temperatures for proteins, helpful articles about food safety, and current food recall and outbreak information. And for the love that is everything holy, if you take one single thing away from this post: DO NOT WASH OR RINSE CHICKEN. Don’t debate me. I’m food safety manager certified by the National Restaurant Association.
Shopping
When grocery shopping, start on the outside aisles and work your way in. That way, you can hit up produce, dairy items, and meats before getting to dry goods and pantry items. You also avoid all of the processed junk in the center aisles. I also find that keeping my shopping cart organized by category helps with figuring out what’s on my list or not.
Store brand items are legit. Especially for basic pantry items things like: tomato sauce, canned beans, and certain seasonings. If you’re trying for a new spice or seasoning for the first time, I recommended grabbing Badia’s brand. They come in small plastic bags and are typically under a dollar. They can usually be found in the ethnic food aisle.
Items you use all the time? Buy in bulk. Get yourself a wholesale warehouse membership and live your best life. Or if you know someone, share with them. Things I use often and that store well? I get them from Costco. Rice, kosher salt, coconut oil, avocado oil, and black peppercorns. Paper towels and dish detergent are also clutch in bulk. Financially, it makes more sense for me to get a large amount of these items rather than go to the store every week.
Season Your Food!
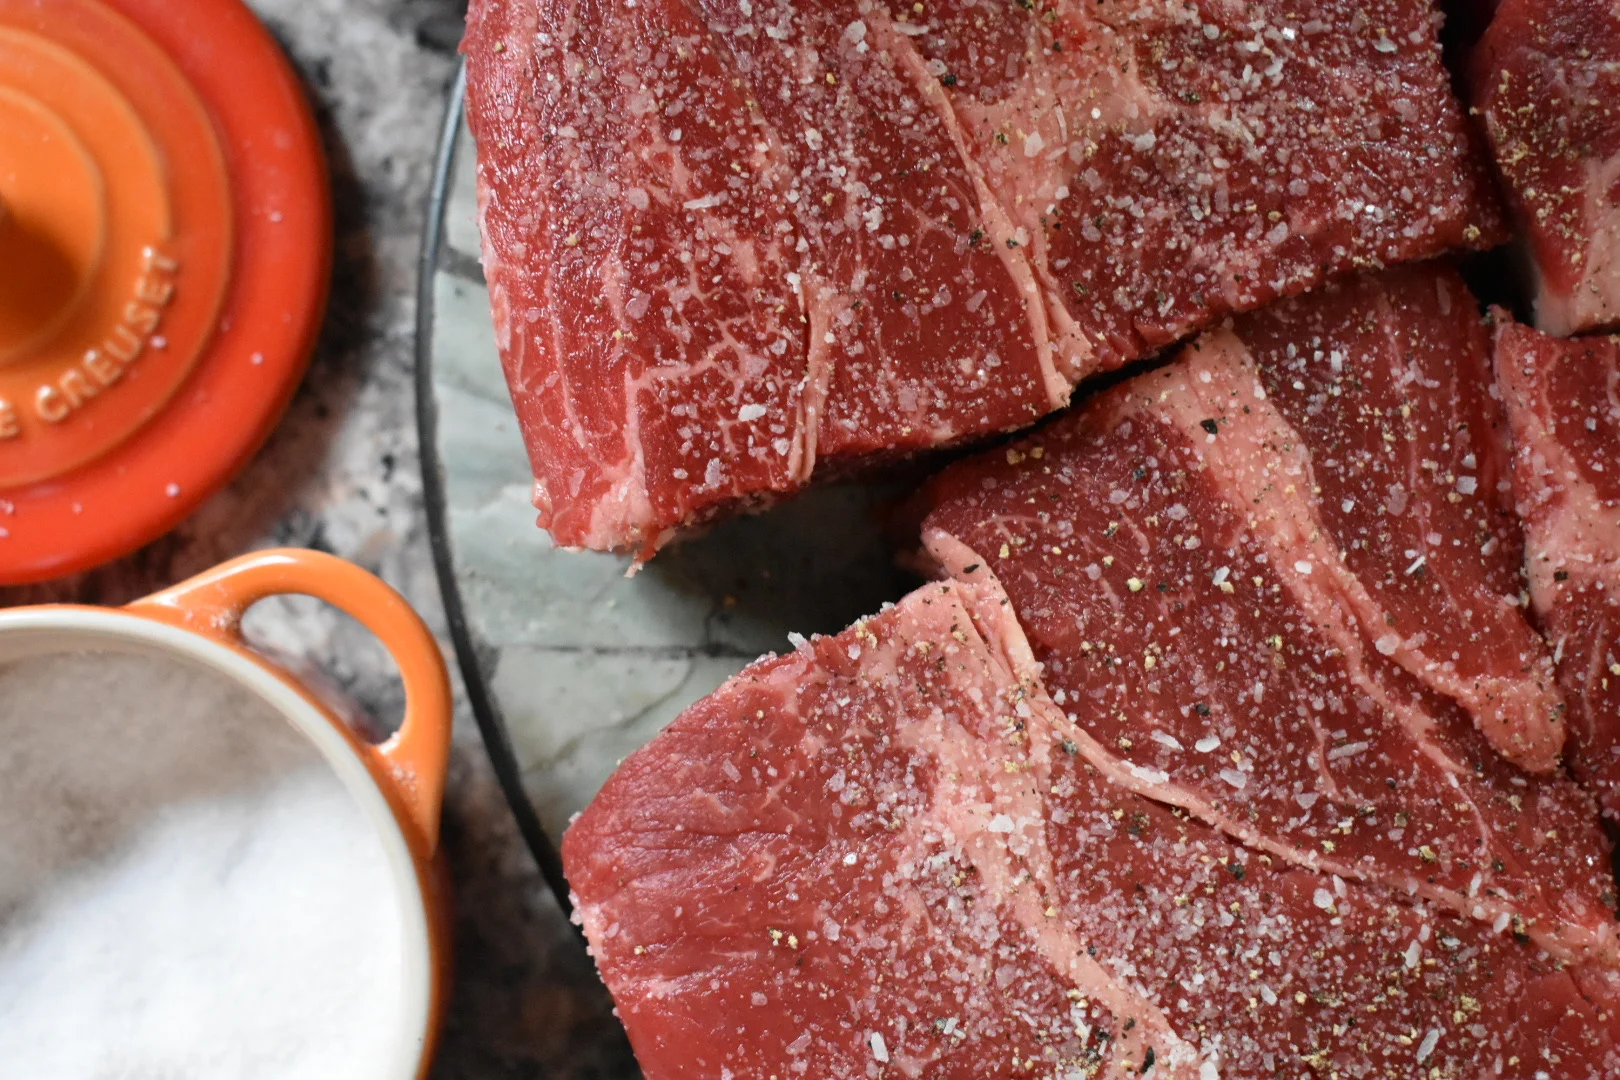
Salt is your friend. I’ve noticed that a lot of home cooks use less salt than professional cooks. I think it’s because they’re afraid of it. Don’t be afraid of salt! Taste as you go along. Start with a little, add it to your food and let it dissolve. Taste it again and keep adjusting. Soon, you’ll be able to just eyeball exactly how much you need based on how often you make that dish.
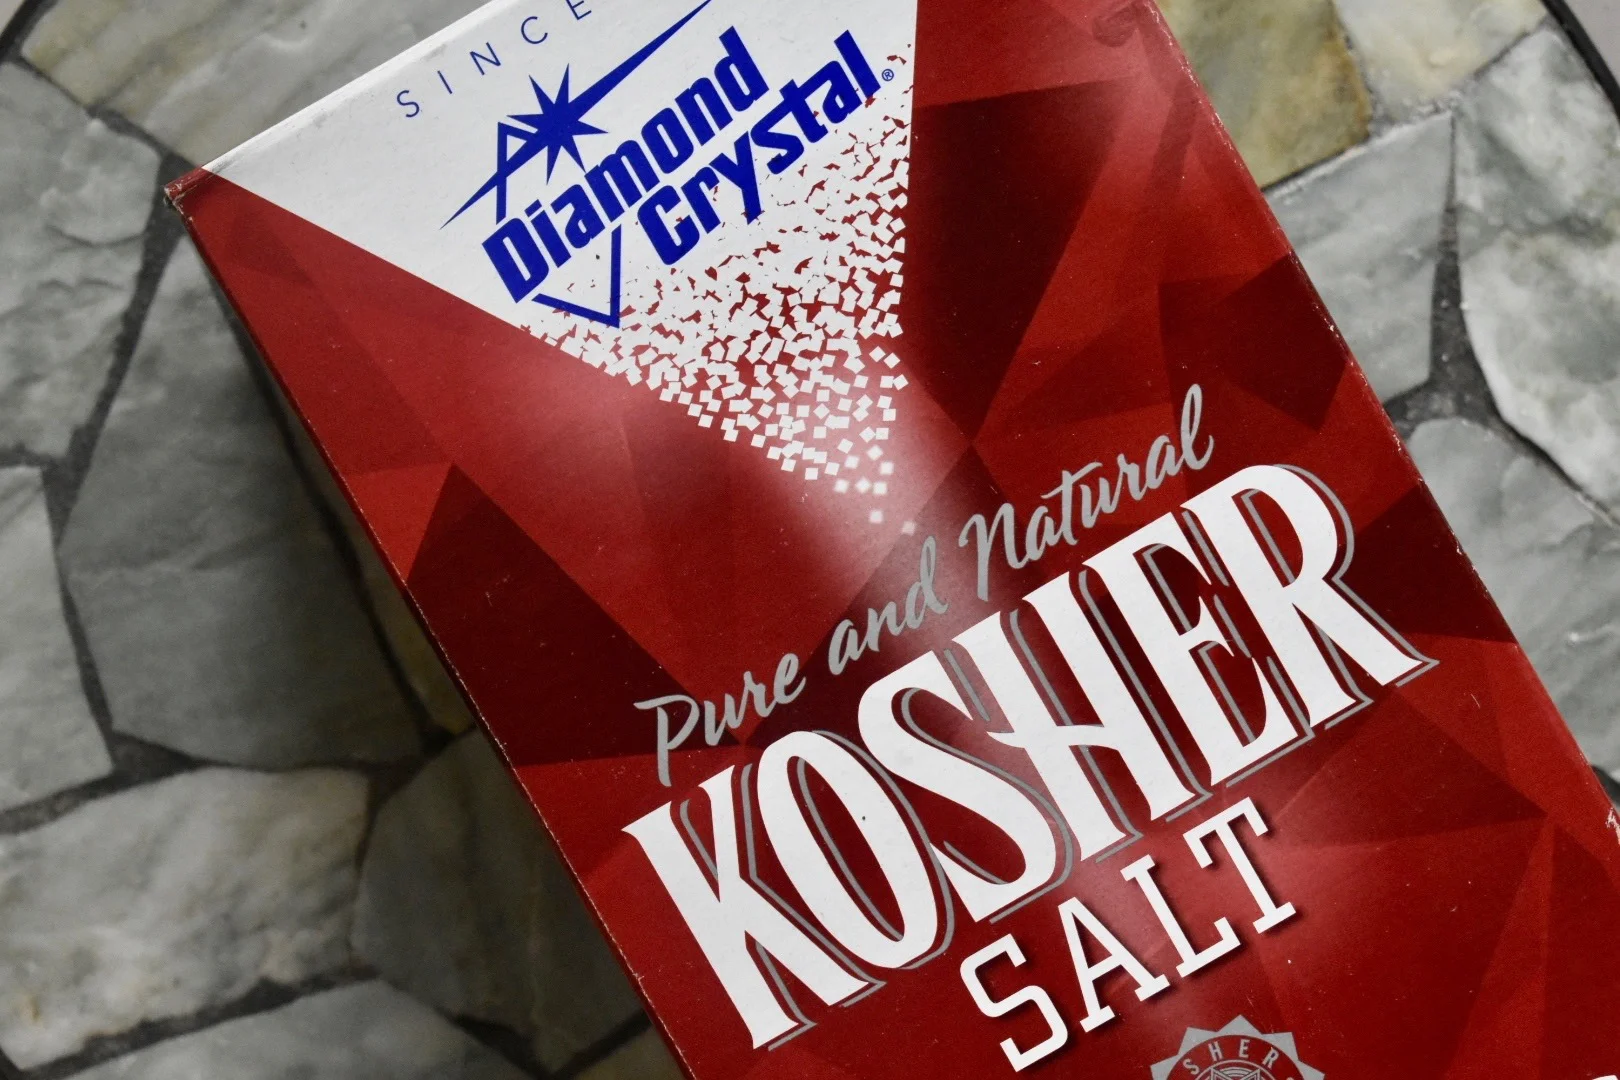
While we’re still on the salt blurb, Diamond Crystal kosher salt is my salt of choice. It’s less salty than other kosher salts and has a larger flake, which is good for even distribution when seasoning and flavoring food. It’s cheap and stores forever. Grab a few boxes and keep a salt crock nearby the stove.
Also, make sure to season your meat right before you cook it. A good rule of thumb to start with is 1 teaspoon per 1 pound of meat. When searing meat, always let it come to room temperature before applying heat. This prevents the proteins from seizing up when hitting the pan and will allow for more even browning.

Also, with searing, especially fish, leave it alone! When you have a piece of meat or fish in a pan and you try to move it with you spatula or tongs and it resists, that means it isn’t ready. Avoid breaking it or ripping up the meat by letting it completely sear and brown before flipping. You’re going to want a very nice, golden brown sear like photographed above.
To me, a pinch of something is using my index, middle, ring and thumb fingers to grab salt or a seasoning for a dish. Think of Salt Bae grabbing and sprinkling salt everywhere.
When making burgers, meatloaf, sausage, or meatballs from scratch, always taste test it by cooking a tiny piece of it to make sure the seasoning is right. That way you can adjust before cooking it.
Always use more garlic than a recipe recommends. That’s why I never tell y’all to use two cloves of garlic. WHO USES ONLY TWO CLOVES OF GARLIC? BYE.
Toast all of your spices before using them if you can. That helps develop all of their flavor. I like sautéing my spices in a little oil of whatever I’m making (especially with sofrito) in order to bloom them a bit. Do this with tomato paste too!
Clarified butter is great for basting and shallow frying food. It’s all we use in professional kitchens next to a vegetable oil blend. Clarified butter (aka ghee), is butter that’s been melted and skimmed of all its milk fats, which means it’s less likely to burn when cooking at high temperatures.
Stocks, Sauces & Roasting: Add Some Extra Flavor
Freeze liquids and stocks in usable portions for easy defrosting. I freeze my sofrito and chicken stock in ice cube trays and store them in plastic freezer bags for a quick flavor boost in my dishes.
For soups and stews, I often throw entire sprigs of fresh herbs right into the pot that way I can just pluck them out before serving. Less hassle with mincing up herbs and you still get all the flavor you need when they’re cooked down.
When adding fresh herbs to a sauce, like chopped parsley to a scampi, always add them right before serving so they stay green and vibrant.
To make a pan sauce: if you have pan-seared a steak or nice piece of chicken and remove it from the pan, you should have some good crusty bits leftover. Use all of those stuck on good bits as the foundation for your sauce. That’s called fond. Scrape it with a little bit of aromatics, like minced shallot or garlic, making sure to stir quickly so it doesn’t burn. Then, add your liquid, preferably a stock or broth of your choice. Bring it up to a rolling simmer. Next is the most important part: monter au beurr, which loosely translates to mounting or going up the butter. Here, start with a pat or two of cold butter and stir it in quickly to your sauce in the pan. The fats from the butter will emulsify in the sauce, adding richness and shine. Make sure to work quickly so the sauce doesn’t break. Once the pat butter melts, turn the heat off and serve immediately over your protein.
A demi glace is a little trickier, since it involves making espagnole sauce (one of the French mother sauces) first and incorporating it into a rich stock that’s been infused and strained. It’s quite involved since you have to do a lot of reducing and skimming impurities; here’s a solid video from Martha Stewart for more information.
There are five mother sauces in classical cooking: béchamel, velouté, espagnole, hollandaise, and tomato. Since these sauces are the foundation of many other sauces in multiple cuisines, if you learn how to make them, you’ll be set for the basics of sauce making. Here’s a great walkthrough from Food52 to check out.
Once you feel comfortable making basic pan sauces, you can go crazy by adding any kind of herbs or aromatics you like! I love making mushroom sauces and scampis for pasta.
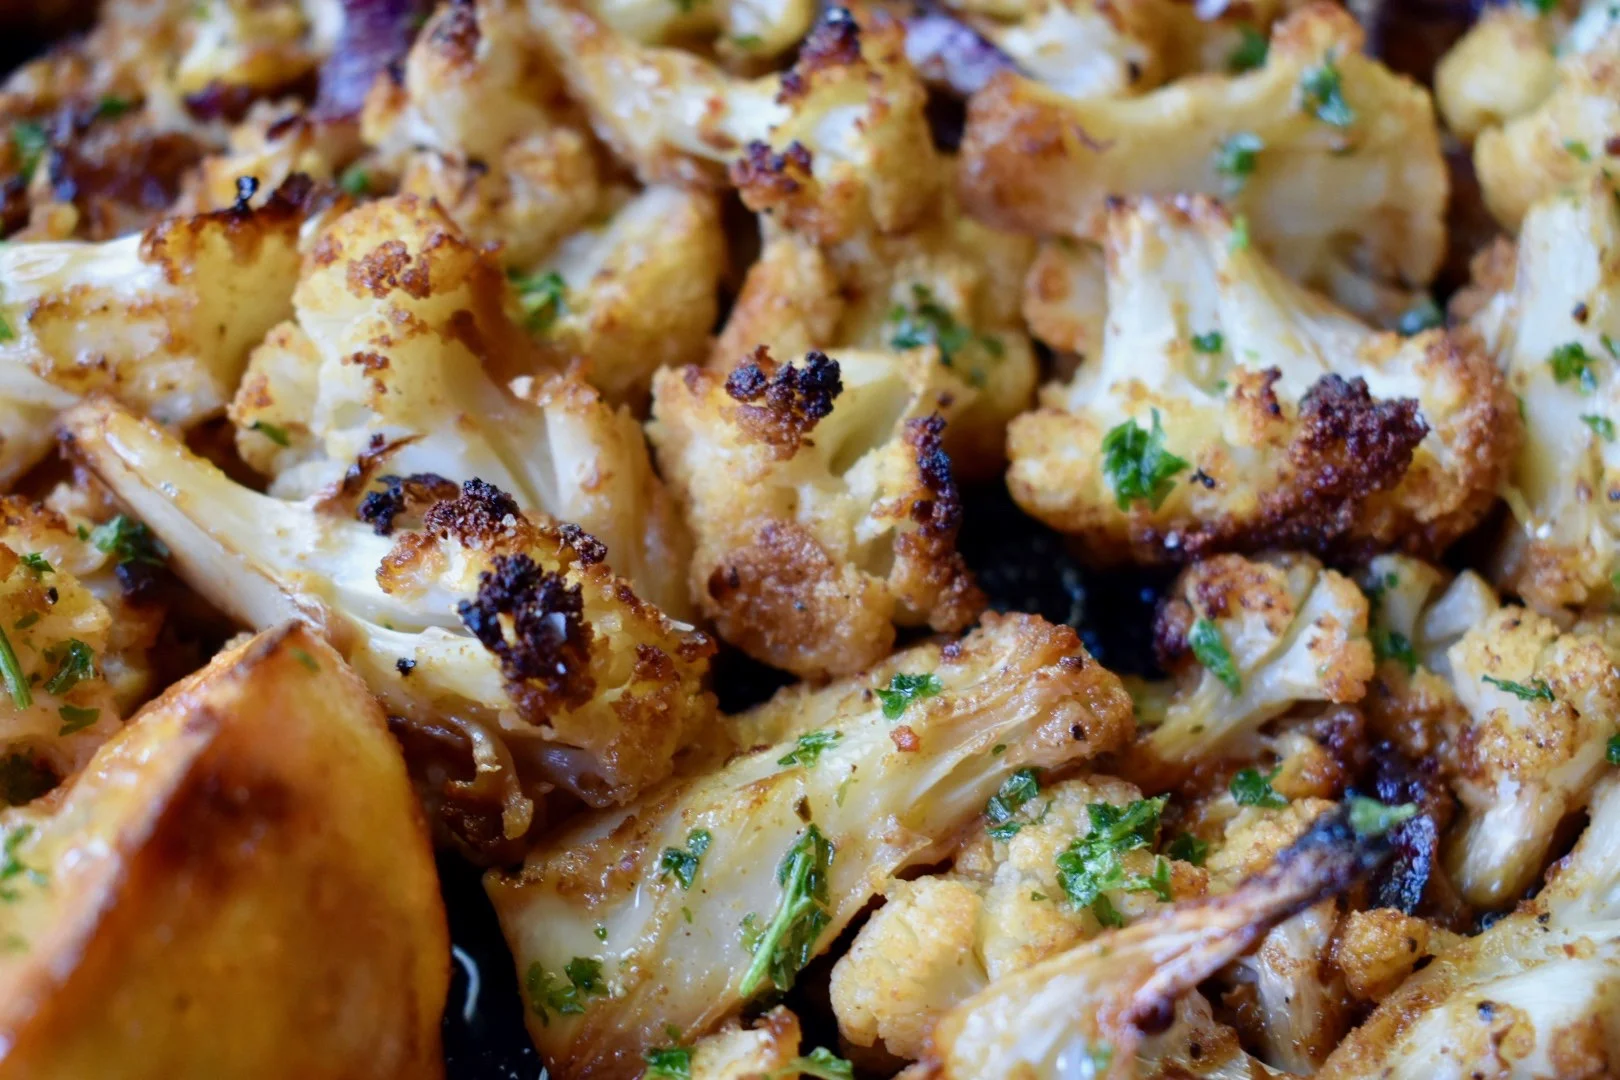
To get super crisp, perfectly tender roasted vegetables every time, preheat your sheet pan in the oven while it comes to temperature. I always roast my veggies at least at 425ºF.
When roasting chicken, you don’t have to use butter on the outside. It ends up just melting off. Use some oil since the skin is already fatty. Save the butter for underneath the skin so it soaks up into the meat when it melts.
Baking: The One Thing That Scares Me
For baking, use a kitchen scale to measure out your ingredients. It’s much more accurate than volume-based measuring cups.
Sifting dry ingredients is a great way to remove physical contaminates (piece of plastic from the bag being opened, random spoon left in the box, etc.) and make sure you have some volume in your dry goods.
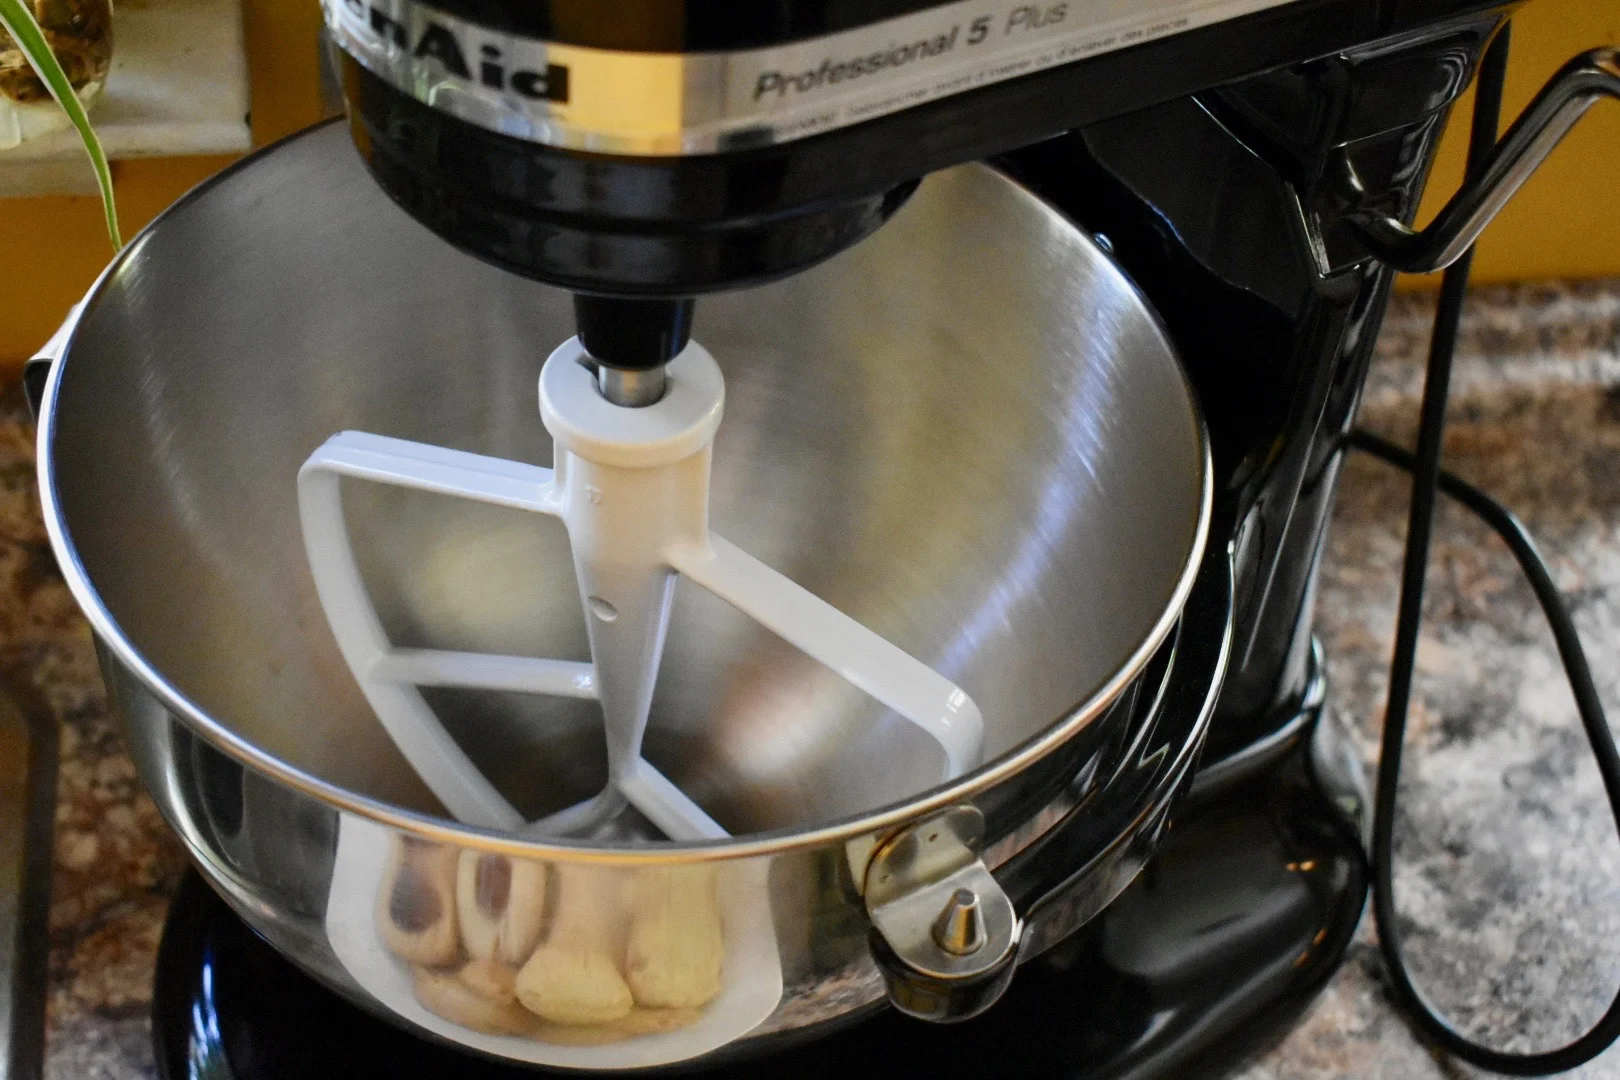
Always use room temperature items when baking. It allows for easier blending and creaming methods like making cookies or muffins. The only time to use cold fat? Biscuits. I always freeze my butter and grate it on a box grater for lots of buttery goodness.
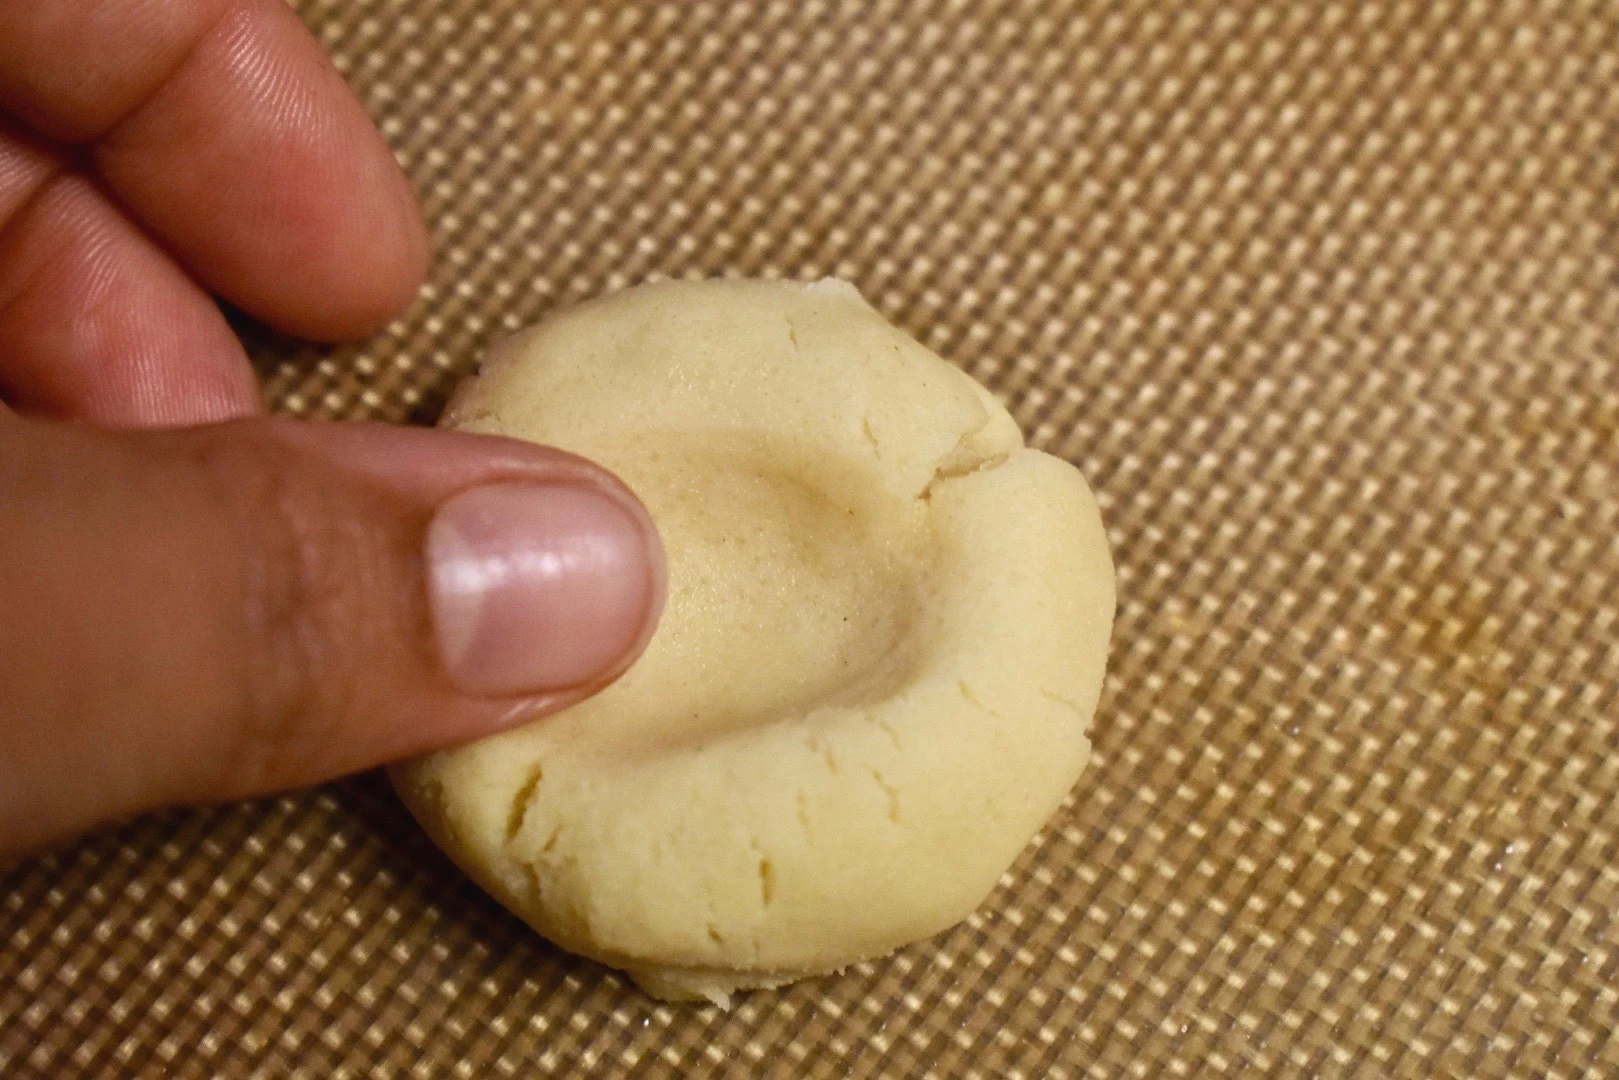
If you prefer a chewy cookie with a crispy edge like I do, under-bake them a little bit. The residual heat from the pan will cook through the center and harden up just fine. Also, gently tapping your pan on the counter or stove right when it gets out the oven helps remove any air pockets inside the cookies and helps release them from the pan without extra force.
SILPAT. Get yourself some silpat and let it change your life. Silpat is a non-stick baking sheet made of a blend of food-safe silicone and a fiberglass mesh. They are absolutely amazing and literally nothing sticks to them. You can wash them and reuse them; I stan an environmentally safe queen!

I’m working on baking more at home to get more comfortable with it since it does intimidate me. But having the right tools at home will definitely help me get set for success!
Kitchen Hacks
Don’t have twine to truss a chicken for roasting? Cut a small slit in the excess skin on either side of the cavity and tuck the drumsticks into their opposite sides. When the bird cooks, the skin shrinks and keeps the legs in place.
Freeze vegetable scraps like carrot tops, celery ends, potato peels, fresh herb stems, and the like by storing them in a gallon-sized freezer bags. Once the bag is full, add it to a large stockpot full of water, add a handful of black peppercorns and some bay leaves and you’ve got some prime vegetable stock.
Do the same for animal parts like chicken backs, wing tips, pork bones, or steak bones. Keep them organized based on which stock you’re making. Then, roast them in the oven at 425ºF to concentrate their flavor until the parts and bones are golden brown and add them to a stockpot full of water for a solid chicken, pork, or beef stock.
Can’t find any buttermilk? Add a tablespoon of distilled vinegar or lemon juice to every cup of whole milk. If you want something a little thicker, thin out some greek yogurt with water to make it saucy. The acids will work the same for brining purposes.
Peel ginger with a spoon. In a pinch, you can do the same with carrots.
Hate peeling garlic? Throw a couple of cloves into a jar or container with a lid and shake like crazy. The skins should come right off after a few minutes.
Measuring something sticky like peanut butter, honey, or syrup? Give your measuring cup a little spray of non-stick cooking spray and your item will slide right out.
When cutting steak into thin slices, partially freeze it for easier slicing. I do this with bacon, too.
Spice grinder getting a little gnarly? Grind up rice to clean it. Then you’ll have spiced rice flour to use for another dish.
Got a flare up on the stove? Hit the burner with kosher salt.
For baking, measure out dry ingredients on a sheet of wax or parchment paper for easy pouring.
Miscellaneous
For more information on pantry staples and other resources that I turn to, you can read more here.